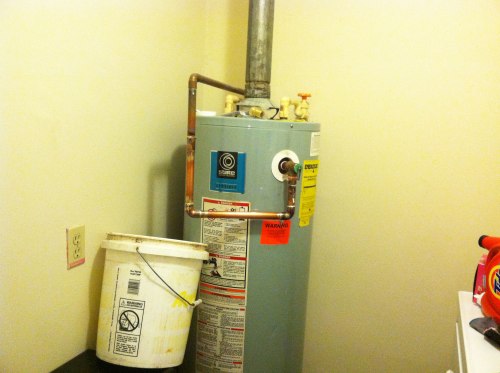
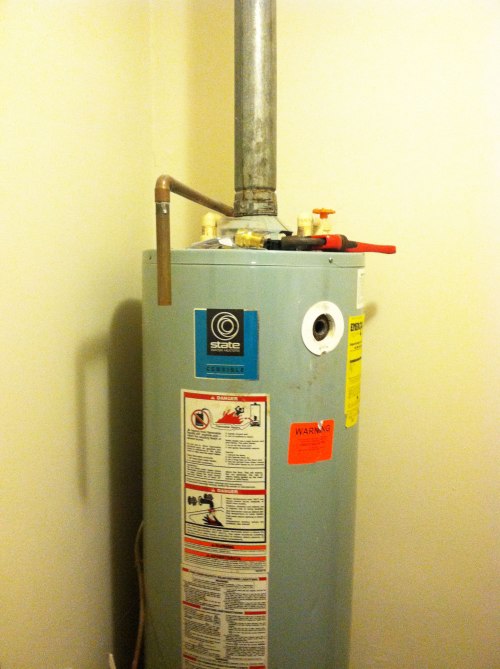
We’ve been tackling small projects around the house while we save up for the bigger ones (new double-pane windows, possibly an additional bathroom added, etc.) This past weekend we worked on the copper pipe that runs the hot water for the water heater. We had a leaky elbow joint at the relief valve, so we decided to cut out a bunch of the old pipe and start fresh. I had my doubts about us handling this project without professionals, but my husband was confident in our abilities!
A trip to Lowe’s was in order to pick up a relief valve, a 10 foot piece of 3/4″ copper pipe, and a few copper elbow joints and couplings. You’ll also need a metal scorer/cutter, a torch, flux, and solder- we happened to have these things already.
We started by draining the tank of about a third of the water (to get the water line below the valve we were removing.) Experts suggest running your water in another location (say a bathroom sink) to keep the lines open to reduce pressure build up in the water lines. Don’t forget to open the relief valve up 90 degrees to allow air to move in the tank to allow your water to drain. Update: We have a gas water heater, so we killed the flame and turned the gas off. If you have an electric water heater, you should be fine throwing the breaker to cut power at the source.
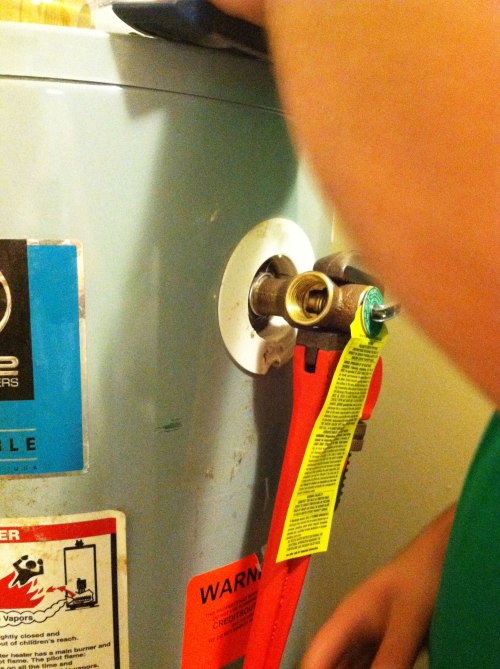
We proceeded to the next step which was removing the old relief valve and scoring/cutting the pipe where we wanted to end the replacement pipe.
This step was a million times easier than I expected it to be!
We then inserted the new relief valve (don’t forget your thread tape for your threaded ends- this should help to reduce the possibility of future leaks!)
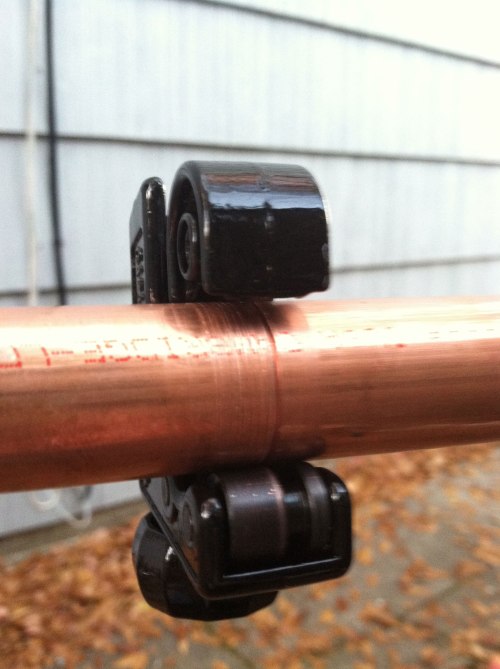
Then you just place elbow joints, pipe, and couplings where needed to reconnect the original pipe line with the new one. We made all of our cuts on the copper pipe using a scorer- super user friendly and got the job done in a matter of minutes.
Each copper pipe piece and coupling or elbow needs to have flux brushed at the joint- flux will help to clean debris that would prevent a solid solder seal, as well as help draw the solder into the seam.
We learned that if you heat your pipe without he torch first, then the solder melts on contact.
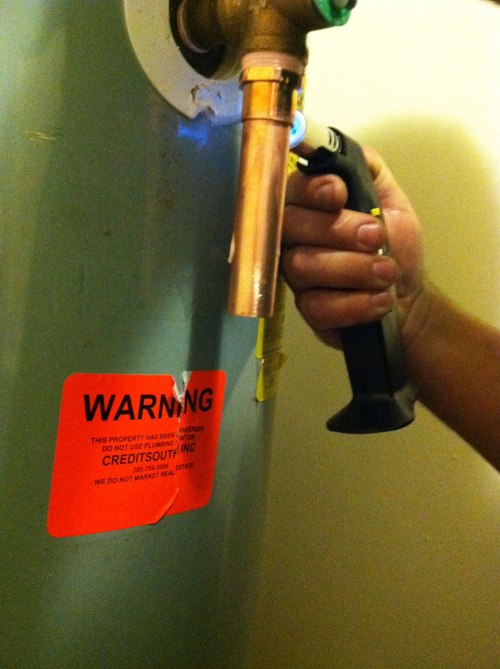

This is much easier to control then placing the solder in the flame. Once we had all of the joints soldered, it was time to turn the water back on and let the tank fill while we waited to test our handiwork for leaks. We also needed to re-ignite the flame (again, because we have a gas water heater.) We turned our knob to the pilot light setting and held down while we lit the flame. We held the knob down for 60 seconds, and then released. We were lucky enough to have it take the first time, but we were instructed that had the light gone out, we would just need to try again. Once our light was ignited, we turned the knob to the on position. Disclaimer: Playing with gas and fire is dangerous. If you’re inexperienced or not comfortable doing it, hire a professional.
All ended well for us, and we saved a ton of money tackling this project on our own!